The first step in accessing location data with Geoscape is to select your required area. We call this area your Area of Interest.
One way to select an Area of Interest is using the built-in drawing tools. Another way is to upload a Shapefile that you have created elsewhere.
This article will take you through the steps to use an existing Shapefile to create an Area of Interest within Data on Demand.
Shapefile Requirements
Your Shapefile and its associated files should be contained in a .zip file. This is the format you will need to upload to Geoscape.
Start a new quote
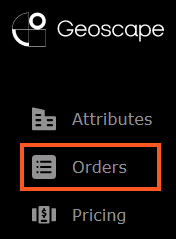
The interactive map is available from the Dashboard. To navigate to the interactive map, select 'Orders' from the navigation menu on the left:
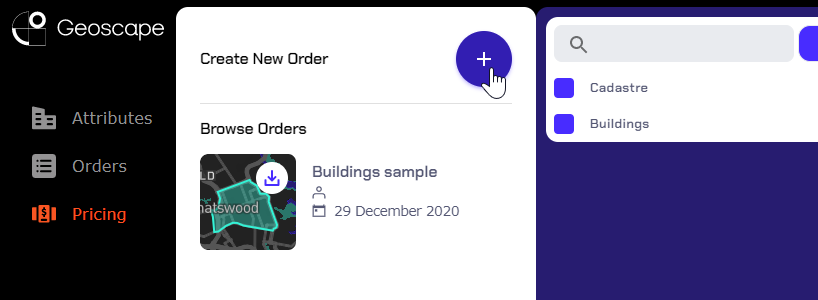
In the top left, click the blue plus button.
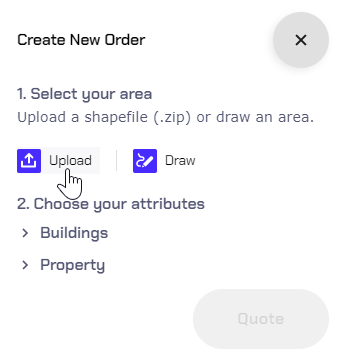
Click the Upload button to upload a .zip containing a shapefile.
Either drag and drop the zip file into the dotted area, or click within the dotted area to select a zip file from your file explorer.
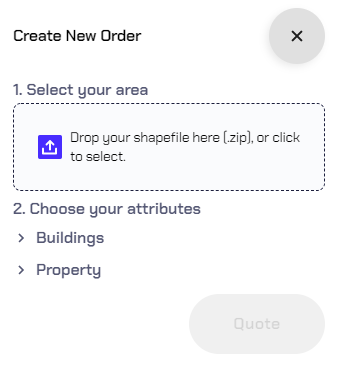
Once selected, the name of the shapefile will appear within the dotted area. Your Shapefile is now uploaded to Data on Demand.
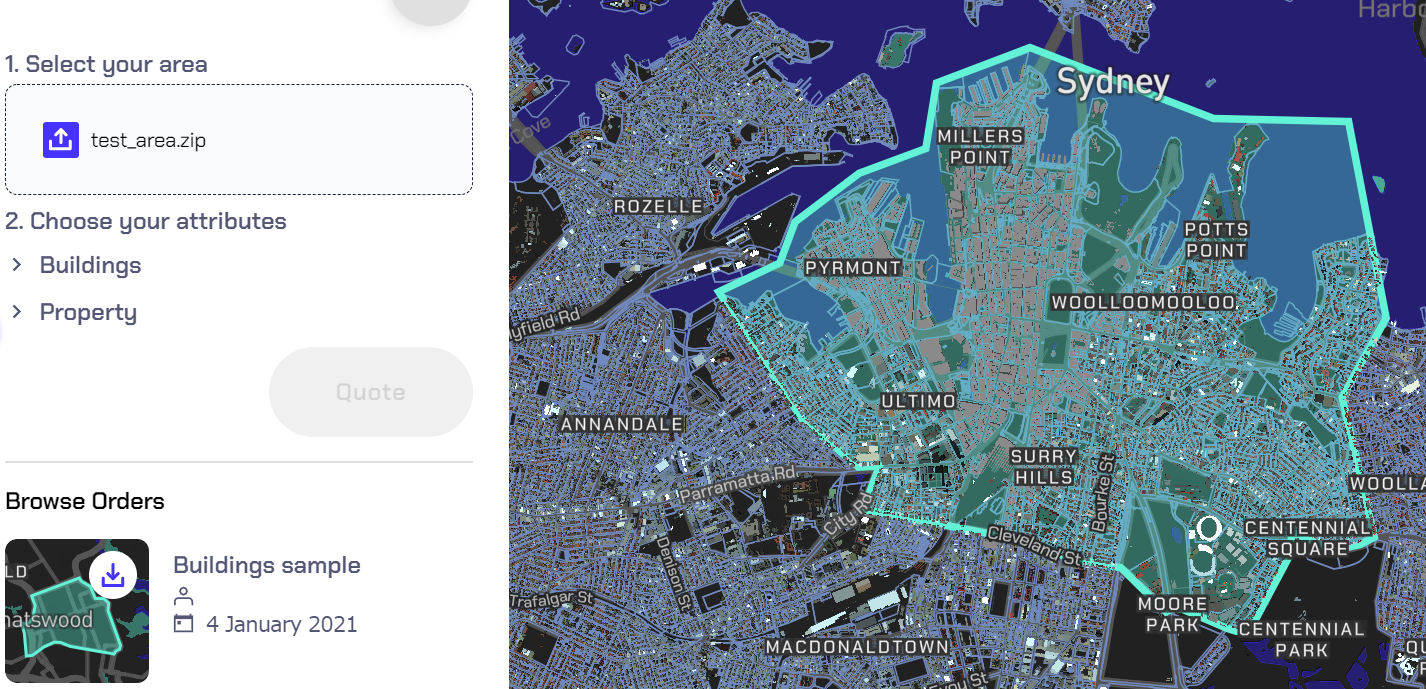
The interactive map will zoom in to the Area of Interest provided to us in your Shapefile.
You can now select the data attributes you need.